
Is your WordPress site showing the wrong name on your blog posts?
By default, WordPress will display the site owner’s username on their posts. This is usually something other than their full name.
In this article, we’ll show you how to add or change your full name in WordPress.
Why Use Your Full Name in WordPress?
When you first set up your WordPress blog, it’s required to set up a username that you can use to log in. Often people choose usernames that are easy to remember and a mix of different words or letters.

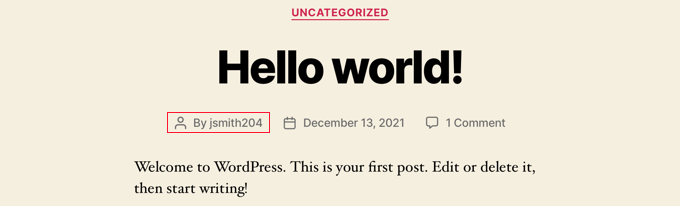
This username is then displayed on the posts that you author. This can look a little strange and is not very professional.
Luckily, WordPress has an easy way to change the display name to your full name without changing your username.
Using a full name instead of a username helps search engines recognize that the content is written by you. It also helps to establish your personal brand because your readers will become familiar with your name.
With that being said, let’s have a look at how to add or change your full name in WordPress.
How to Change or Add Your Full Name in WordPress
To change your display name, simply go to the Users » Profile page in your admin area.
If you are unable to see ‘Users’ in your WordPress admin menu, then this means you are not an administrator on this site. You can still make changes to your profile by clicking on the Profile menu.
You will need to scroll down to the ‘Name’ section where you can see the options to add your first name, last name, and nickname.
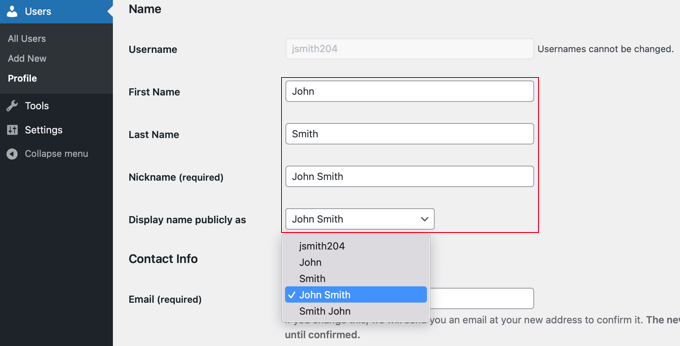
After filling in these fields, click on the dropdown menu next to the option ‘Display name publicly as’. You can now select from your first or last name, full name, nickname, or username to be displayed with your posts.
After selecting the name you want to use, you need to click on the ‘Update Profile’ button at the bottom of the page to save your changes.
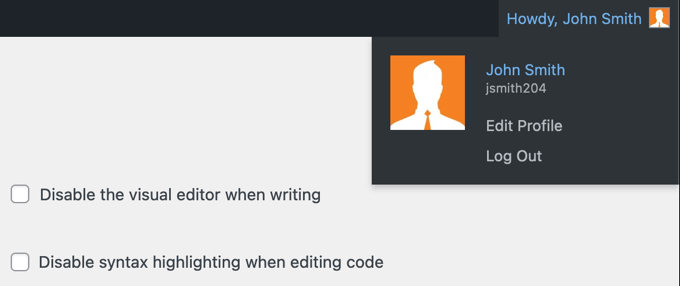
You will notice that the name you chose to display publicly will now appear in the top right corner of the WordPress toolbar next to ‘Howdy‘.
When you visit your website, you will see the posts that you authored now show your full name instead of your username.

If you wish to change your display name in the future, then simply revisit your profile and repeat these steps with your new name.
We hope this tutorial helped you learn how to add or change your full name in WordPress. You may also want to learn how to increase your blog traffic, or check out our list of 24 tips to improve your WordPress performance.
If you liked this article, then please subscribe to our YouTube Channel for WordPress video tutorials. You can also find us on Twitter and Facebook.