
Do you want to learn how to add topics in your WordPress navigation menu?
Often beginners users try to add topics in WordPress menu by creating a separate page for each topic. But that’s not the best way because adding these pages to a menu won’t display the relevant posts.
In this article, we will show you how to properly add topics in WordPress by using categories and tags in WordPress navigation menus.

Why Add Topics in WordPress Navigation Menus?
Let’s say you have a WordPress website that offers travel guides for different cities. You may want to add city names in your navigation menu, so that your visitors see relevant articles when they click the menu item.
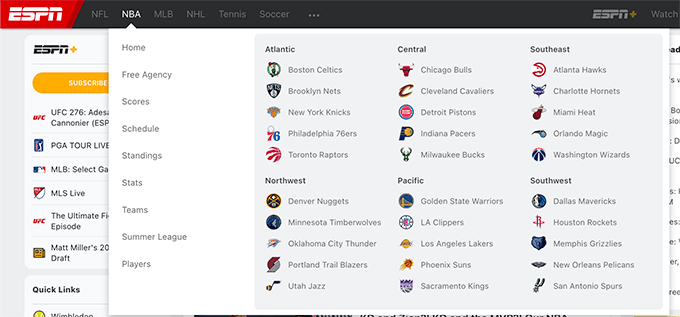
Alternatively, if you have a news website like The New York Times or ESPN, you would want to highlight the various topics in the navigation menu.
WordPress makes it quite easy to add topics if you organize your content using categories and tags.
Categories cover your website’s main topics like a table of contents, while tags cover more specific topics like an index. You can learn more by reading our guide on the difference between categories and tags.
Let’s take a look at how you can use categories and tags to organize your content, and then add those topics to your WordPress navigation menu for easy access.
Adding Categories and Tags to WordPress Posts
You can add or select categories while writing your blog posts. The categories box will appear on the right column of the WordPress content editor.
If you need to add a new category, then just click the ‘Add New Category’ link below the list of your existing categories.
For example, on a travel blog, you might create categories for each city you’ve written about, such as ‘Paris’, ‘Amsterdam’, ‘Berlin’, ‘Instanbul’, and ‘London’.
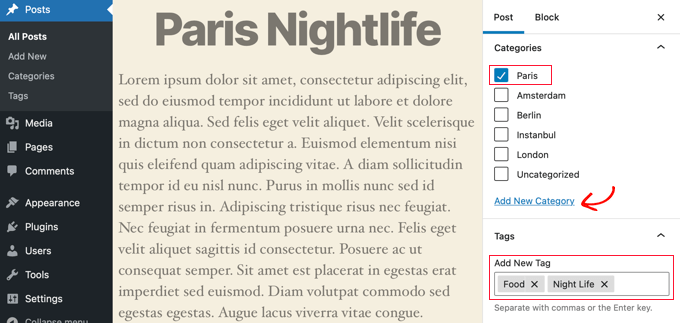
You can also add tags from inside the content editor by simply typing into ‘Tags’ field on the right. When adding more than one tag, you need to separate them with commas.
If you want to choose a tag that you have previously created, then you need to type the first few characters and your matching tags will pop up. Then simply click the tag you want to use.
On a travel blog, you could add tags for the more specific topics covered in a certain post, for example, ‘Food’, ‘Night Life’, ‘Walking Tours’, and ‘Rail Travel’.
Once you have created a few posts and filed them under different categories and tags, you can now add them to your site’s navigation menu.
Adding Categories in WordPress Navigation Menus
To add categories to your navigation menu, simply visit Appearance » Menus and click on the ‘Categories’ tab to expand it.
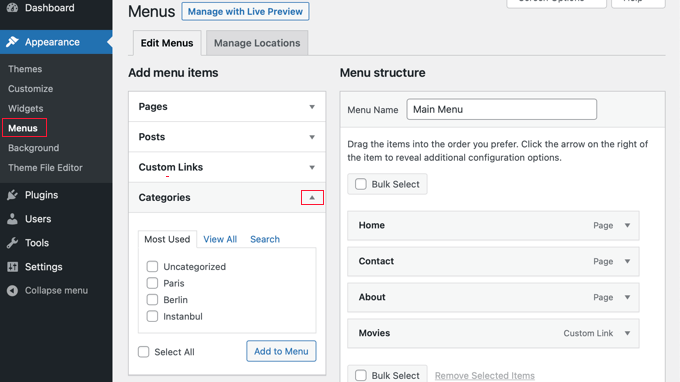
Next, select the categories you want to add to the menu and then click the ‘Add to Menu’ button. Your selected categories will now appear in the right hand column as menu items. You can move them up and down using drag and drop.
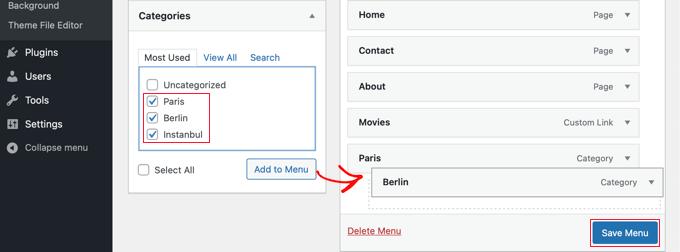
Once you are satisfied with the menu, click on the ‘Save Menu’ button to store your changes.
You can now visit your website to see your changes in action.

Adding Tags in WordPress Navigation Menus
To add tags to your navigation menu, you need to visit the Appearance » Menus page. Unlike categories, there isn’t an option to add tags by default.
However, you can add a Tags tab by clicking on ‘Screen Options’ at the top of the screen, and then checking the ‘Tags’ box.
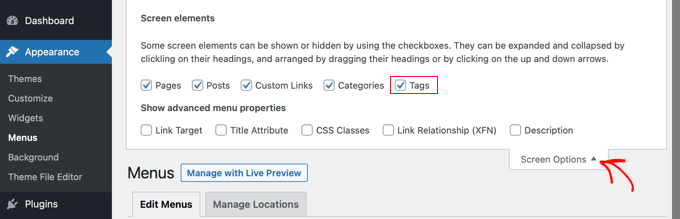
A Tags tab will now be added to the left hand column. You can click the tab to expand it.
Now you can select the tags you wish to add to the menu. When you click the ‘Add to Menu’ button, your selected tags will appear in the right hand column as menu items and you can rearrange them using drag and drop.

Don’t forget to click the ‘Save Menu’ button to store your settings.
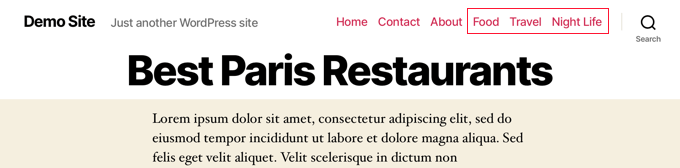
You can now visit your website to see that the tags have been added to your menu.
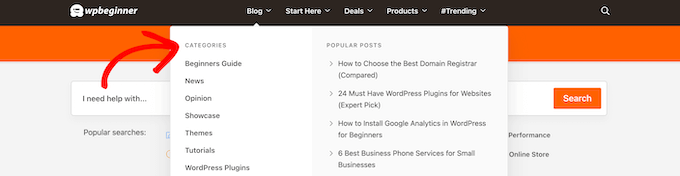
If you want to create an advanced topics drops menu with multiple columns like ESPN and WPBeginner, then that’s often referred to as mega menu.
You can follow our step-by-step tutorial on how to create a mega menu in WordPress for more details.
We hope this tutorial helped you learn how to add categories and tags in WordPress navigation menus. You may also want to learn how to create a landing page with WordPress, or check out our list of must have plugins to grow your site.
If you liked this article, then please subscribe to our YouTube Channel for WordPress video tutorials. You can also find us on Twitter and Facebook.